To get an idea of how concrete 3D printing works, imagine a gigantic FDM 3D printer that uses concrete instead of plastic filament.
Concrete 3D printers, just like FDM printers, are controlled via g-code, a machine language that works by directing the print head of the 3D printer until the desired 3D model is produced.
Concrete 3D printers and “normal” FDM 3D printers are both similar in some ways and very different in others. In fact, the similarity between plastic FDM printers and concrete printers can be summed up in basically two words: material extrusion. Just like “normal” FDM 3D printers, concrete 3D printers also operate using X, Y and Z axis.
The x-axis of a concrete 3D printer is defined by the length of the rails which are used for moving the printer back and forth. The Y-axis of the concrete 3D printer is defined by the distance between rails on opposite sides and the Z-axis is defined by the height of the pillars which carry the nozzle.
Concrete 3D printers haven’t eliminated the need for construction workers, but it has made their job easier and safer. Professional constructors and builders will still be operating on the field, but alongside the concrete 3D printer.
Obviously, the foundation is needed before houses/buildings can be built above the surface. One of the first steps in preparing the construction site for a concrete 3D printer to arrive is to flatten it so that rails for the printer can be installed. Apart from creating a surface flat, foundations are needed before the process of printing concrete can start.
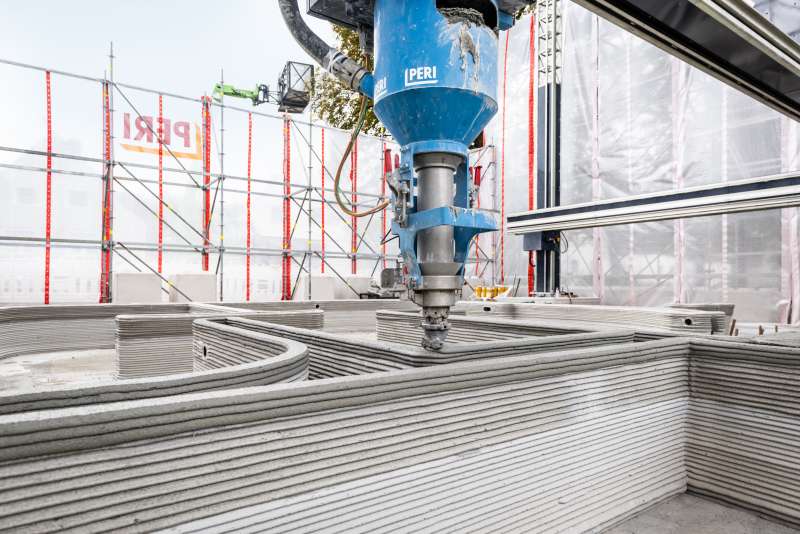
One of the first steps workers need to do in order to start printing concrete is to deposit specially designed rails for the printer. The next step is to put the printer on the rails, set up the pillars and check all three axes. The nozzle and a robotic arm are located on a horizontal metal beam that’s put across the pillars of the concrete 3D printer.
When the 3D design of the house is ready, concrete comes to the construction field – usually in a normal concrete truck – and is connected to the printer’s nozzle via a big hose.
At this point, you might be asking yourself how electrical installations and reinforcement of the walls are implemented during the concrete 3D printing process. It can all be done during printing thanks to recent developments of the companies which specialize in concrete 3D printing, such as CC Corporation.
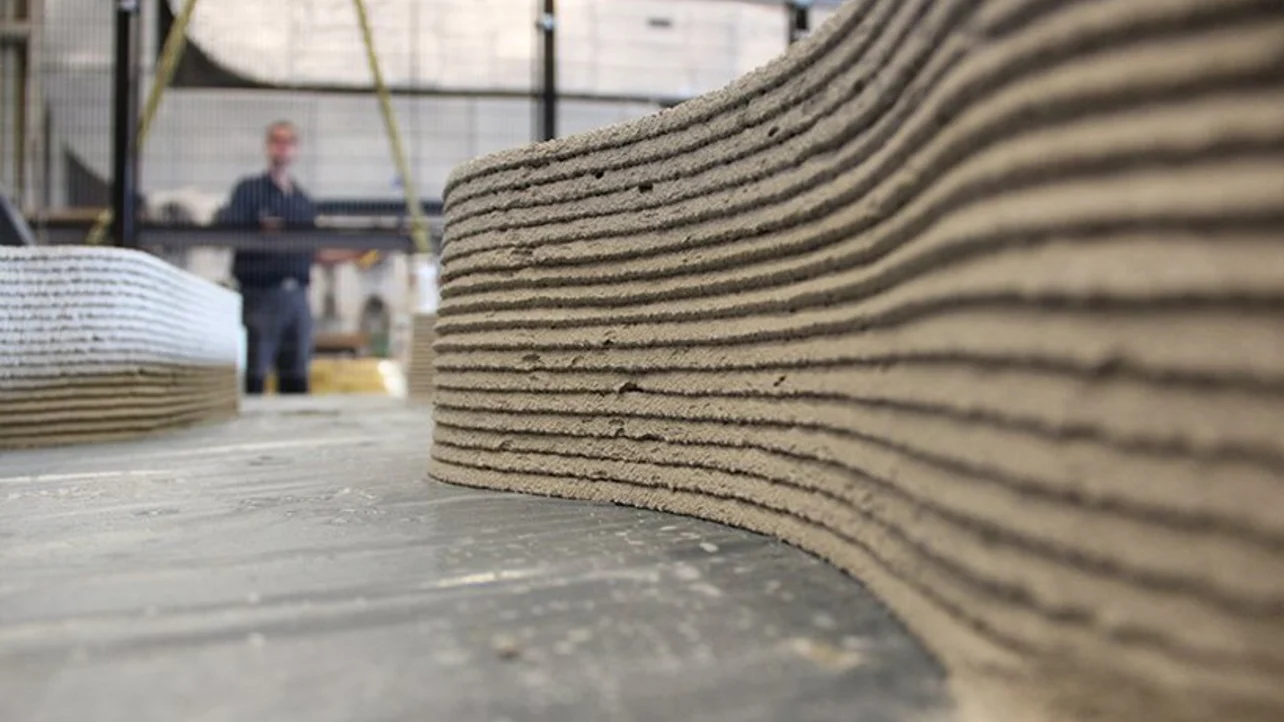
Special methods of wall reinforcements are developed by firms that specialize in 3D printing to make bare concrete walls even stronger. Window frames and ceilings are pre-manufactured and installed by a robotic hand that “sits” alongside the nozzle. The concrete that gets printed has to be carefully prepared in order to successfully print buildings.
The goal would be to achieve a concrete mix which is able to provide maximal buildability upon pouring of the concrete and to maximize the flowability of the concrete mix to ensure the nozzle doesn’t get clogged. To say it simply, the goal is to have layers which harden quickly but remain liquid enough to successfully bond with new layers.
About the Author
This article is written by Leo Gregurić, All 3DP
Read the original post here.